One Million Tattoos
Jian Yi
With One Million Tattoos: Designs to Create and Colour you can print out unique combinations of original tattoo designs from the CD to colour and incorporate into your own artwork, or adapt and to take to a tattooist. Over a million combinations are possible!
Jian Yi is a member of ASIFA (the
International Animated Film Society) and a widely respected manga artist.
His work has been published worldwide, including in China, France, Canada and Switzerland. He has been passionate about tattoo art since 2005, and now runs a tattoo and comic studio
The disc’s easily accessible art is useable in two ways: firstly, by simply choosing from 100 complete tattoo designs to either save as a JPEG or print from the disc, or alternatively, constructing your own tattoo design by selecting keywords from a drop-down menu. Because there are 100 top, 200 centre, 100 side, and 100 lower designs, there are 200,000,000 possible permutations. in Beijing where he lives.
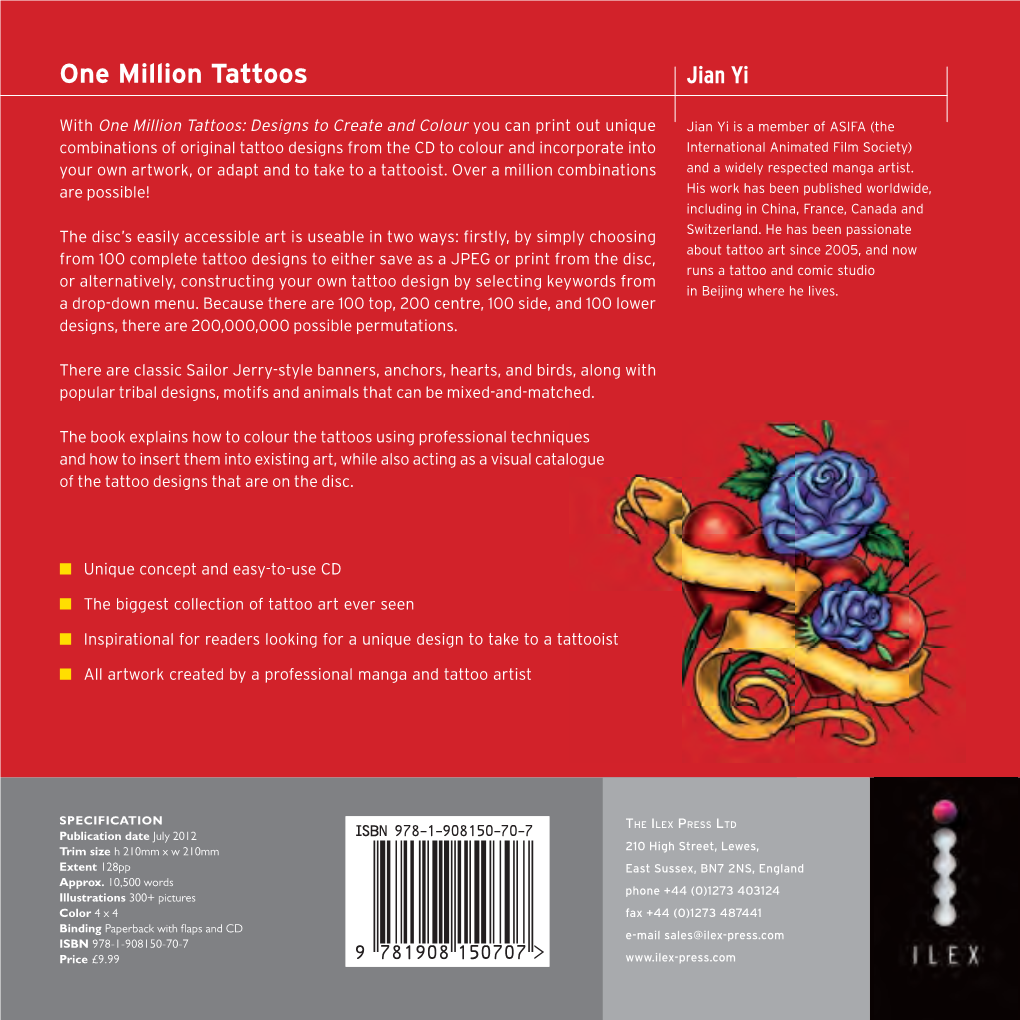
There are classic Sailor Jerry-style banners, anchors, hearts, and birds, along with popular tribal designs, motifs and animals that can be mixed-and-matched.
The book explains how to colour the tattoos using professional techniques and how to insert them into existing art, while also acting as a visual catalogue of the tattoo designs that are on the disc.
■ Unique concept and easy-to-use CD
■ The biggest collection of tattoo art ever seen
■ Inspirational for readers looking for a unique design to take to a tattooist
■ All artwork created by a professional manga and tattoo artist
SPECIFICATION
THE ILEX PRESS LTD
210 High Street, Lewes,
Publication date July 2012
Trim size h 210mm x w 210mm
Extent 128pp
Approx. 10,500 words
Illustrations 300+ pictures
Color 4 x 4
Binding Paperback with flaps and CD
ISBN 978-1-908150-70-7
Price £9.99
East Sussex, BN7 2NS, England phone +44 (0)1273 403124 fax +44 (0)1273 487441 e-mail sales@ilex-press.com
ONE MILLION
DESIGNS TO CREATE AND COLOUR
Tu
ONE MILLION
attoos
Te
JIAN YI
X-MILT-TandH-BLAD.indd 117/02/2012 13:32 6
7
The History of Tattoo Art
Tattoo Art Now
Contents
8
9
USING THE BOOK AND CD
TAKING IT FURTHER
10 CREATING TATTOO DESIGNS
12 PRINTING
13 THINK BEFORE YOU INK
14 IMPORTING IMAGES
16 DIGITAL TATTOO ART
18 EDITING PROGRAMS
20 BASIC TOOLS
22 BASIC BRUSHES
24 BASIC TECHNIQUES
26 CUSTOMIZING TATTOOS
28 BLOCKING IN COLOR
32 SHADING AND HIGHLIGHTS
34 ADDING TATTOOS TO ARTWORK
36 ADDING TATTOOS TO DECALS
38 TATTOO DESIGNS
40 TRADITIONAL
52 ASIAN
62 MYTHICAL
72 NAUTICAL
78 TRIBAL
88 HORROR
98 NATURE
110 MIX AND MATCH
126 Chinese Zodiac Characters
128 License Agreement Customizing Tattoos
You don’t have to stick to the five-part template that the designs on the program follow. Using the techniques covered on pages 24–25, you can use the artwork provided with One Million Tattoos to customize your tattoo however you like. The composition of your design may depend on where you plan to position it; for example, the five-part design is ideal for placing on a shoulder or the lower back, while a single side panel would look great on a forearm.
A simple way to tweak your composition is to use the Blank option in the drop-down menus. You can choose which parts of template you want to leave out, for example the Side panels. You may want to leave a panel blank and include some of your own artwork instead.
Traditional 034
Traditional 040
Thumbnails
Thumbnails
Thumbnails
Thumbnails
Top
Center
Lower
Sides
Traditional 011
Traditional 036
- 0 Blank 0 -
Asian 001
Asian 002
Asian 003
Asian 004
Asian 005
Asian 006
Asian 007
Asian 008
Asian 009
Asian 010
Horror 001
Horror 002
Horror 003
Horror 004
Horror 005
Alternatively, you may want to get a little more creative. By resizing, rotating, and flipping your panels you can end up with dramatically different designs.
26 Choose the elements you want to use in your tattoo design and copy them over to your image-editing program (see pages 14–15).
Here, the side and top panels have been deleted, and the lower panel has been resized and moved to sit just under the central motif.
Above, the side panels have been flipped vertically and resized.
The side panels can be used as top and lower panels as well.
Here they have been positioned to face each other by deleting the left piece, copying the right side, and flipping this horizontally.
27 Blocking in Color
Filling in base colors is the first step in every coloring process.
Flat colors block out the areas of color that serve as boundaries for the more detailed coloring to follow.
Remember that the more colors you use, and the greater the amount of shading and gradation, the longer the tattoo will take, and the more difficult it will be to apply. Simpler, bolder designs with limited numbers of colors will often work the best—sometimes flat colors will be all you need.
Creating blocks of solid color on a separate layer also allows you to easily reselect large areas of color with the Magic Wand tool—but be sure to keep a copy of your flats layer, even after you start shading, so that you can come back to areas of color later if you aren’t happy with them.
Unsharp Mask
Preparing the Artwork for Color
When you have copied your tattoo to the clipboard, you should prepare it to be colored or toned. It’s important to
flatten an image and make sure that no anti-aliasing is present, as blurred lines can prove tricky during coloring.
Nothing is worse than ragged
OK
Cancel
Preview graytones around all of your lines!
100%
Amount: 70 %
Radius: 0.9 pixels Choose Layers Flatten Image from
1the menu. This will reduce the image
Threshold: 50 levels to a single layer.
Choose Filter Adjustments
Threshold. Adjust the slider until you are happy with the “boldness” of your lines. This means that any colors above a certain percentage of “darkness” will
As well as setting your resolution,
2another way to optimize your line art is to try out some of Photoshop’s Sharpen
filters, such as the Smart Sharpen filter.
Or in Elements, apply the Sharpen effect become black, and any below will be white. and adjust the Threshold.
28 Laying Down Flats
Most of the tattoo designs have
1solid black lines for easy coloring.
If you wish, you can just use the Paint
Bucket tool set to Contiguous to fill them. If you want a little more control, duplicate the line art to a new layer.
Using the Magic Wand tool, with
Contiguous unchecked, click on an area of white, then press Delete.
This will select and delete anything that isn’t line art. Delete the artwork on the original line art layer, replacing it with a flood fill in a neutral color such as gray or pale yellow.
Now click Select Modify
Expand, set the value to 1, and 3click OK. This expands the area of color out over the linework so that there are no gaps in the color when printed or viewed on screen. When you’ve finished selecting one group of areas, switch to the color layer below.
On the line art layer, use the Magic Wand tool to select an area you want to block color in. Set the tolerance to about 35, check Contiguous and uncheck Anti-alias. Press and hold the Shift key to select multiple areas (all parts of your tattoo you want in the same color, such as a flower’s petals, for instance) or press and hold the Alt key to deselect any areas you may have clicked by accident.
Using the Paint Bucket tool, fill the selected area with your chosen color. You can also get the same result by pressing X to switch your chosen color to the background color, and pressing
Delete. It’s quicker over multiple areas.
24
29 Shading and Highlights
The brushes in Photoshop make creating great airbrush and simulated natural media effects easy! Due to the possibility of using hundreds of colors, these effects are great for designs you’re intending to use on a tattoo transfer, T-shirt design, or other decal.
After blocking in base colors, duplicate the layer (Layer Duplicate Layer).
Select the color you want to work on, using the Magic Wand with Contiguous unchecked. Choose a color that’s a few shades darker (not a shade of gray). With the Paint Brush tool, select a soft tip and set the opacity to around 30%.
Rename the duplicate and leave its mode on Normal, then move it above your
12base layer. Keep the original base layer, as it will help you select areas of flat color with the Magic Wand. You will be doing all of your painting on the duplicate. Don’t use the Eraser to correct mistakes, as it will erase through to the layer below: use a brush to paint over the fault with the original color.
32 Repeat this process for the other parts of the picture. Pay attention
5to the material you’re painting, and how reflective or shiny it might be. Use the Hue/Saturation controls to tweak finished areas until you’re satisfied. Here’s where keeping your base colors as a separate layer comes in handy: painted colors are tough to select in their entirety with the Magic Wand. Just click back to the base layer, select the area of flat color you want to adjust, then flip back to the color layer to alter the selection as necessary.
You can paint directly onto the color within your Magic Wand selection
Once the shadows are complete, move on to the highlights—choose a lighter color than the original and paint areas that especially catch the light.
Build the highlights up gradually with a soft-tipped, low-opacity brush.
34
(selecting each area of color keeps your shading inside the lines). With an opacity as low as 30%, you can build the darker color up gradually, overpainting your shading with darker shadows. If you think the shadows are not dark enough, simply choose a darker tone.
Next, add the strong highlights. Create a new layer above the color layer, name it “Highlights,” and leave the mode Lastly, add as Normal. Pick a hard-tipped Brush with any further
80%–100% opacity, then paint in bright details to complete white (or very light) shades to finish toning. your tattoo.
6
7
33 Traditional
The traditional tattoos feature motifs of hearts, skulls, daggers, crosses, and roses. Mixing Gothic skulls with delicate flower designs can create effective contrasts, while using elements from the other tattoo styles gives a contemporary feel to classic designs like the love heart.
Top: Traditional 042
Center: Traditional 053
Lower: Traditional 042
Sides: Traditional 036
42 Top: Traditional 031 Center: Traditional 024
Lower: Traditional 018 Sides: Traditional 028
Top: Traditional 037 Center: Traditional 059
Lower: Traditional 037 Sides: Traditional 037
Top: Traditional 017 Center: Traditional 018
Lower: Traditional 002 Sides: Traditional 015
Top: Traditional 003 Center: Traditional 028
Lower: Traditional 002 Sides: Traditional 008
43
One Million Tattoos