Windows FileZilla Setup Guide
NOTE: FileZilla is great for clients who would like to move data from their local computer to the e-Dashboard system. If you would like to scan documents directly into the e-Dashboard, you may take a look at the Web Drive Setup Guide,
available at
To upload your documents and date for use within the Cloud 9 Real Time system, the files must be uploaded through
FTP onto our servers. There are dozens of FTP programs, both available for free and for purchase, but one of the most common and easiest ways of setting up FTP is utilizing FileZilla, a free application.
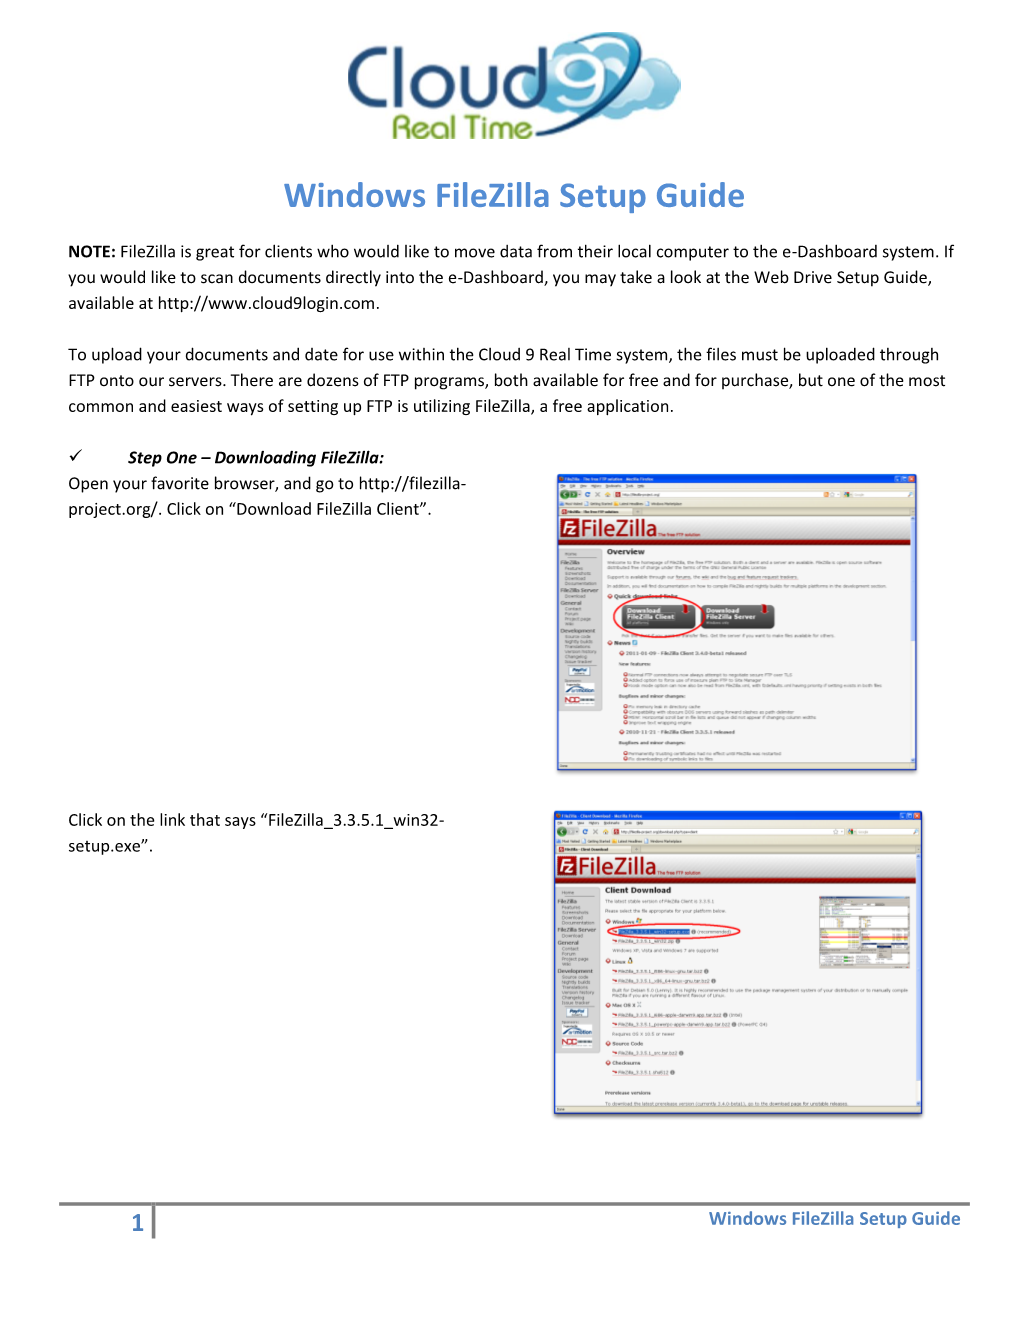
Step One – Downloading FileZilla:
Open your favorite browser, and go to Click on “Download FileZilla Client”.
Click on the link that says “FileZilla_3.3.5.1_win32setup.exe”.
Windows FileZilla Setup Guide
1After clicking on the correct flavor, you will be redirected to a SourceForge site. After a countdown, the downloading of FileZilla will attempt to begin. Save the file in a location that is easily accessible.
Step Two – Installing FileZilla:
Once FileZilla has completed downloading; double-click on the file in which you have downloaded. This will begin the installation of FileZilla
You will be taken to the installation wizard. You will see a window asking you to review the License
Agreement. Click “I Agree”.
Windows FileZilla Setup Guide
2You will be asking to whom you’d like to install FileZilla for. Select the correct option, and click “Next”.
Select what components you want to install along with
FileZilla, then select “Next”.
Select where you want to install FileZilla (it is recommended that you keep the destination folder at the default location.), then select “Next”.
Windows FileZilla Setup Guide
3To install FileZilla, Select “Install”.
Once FileZilla has installed, you will be shown a window noting its completion. Select “Finish” to close the Setup application, and to start FileZilla.
Step Three – Configuring FileZilla:
Go to File-Site Manager, or click on the upper-left icon on the FileZilla window. This will allow you to add the FTP connection to the cloud.
Windows FileZilla Setup Guide
4Enter in the following information in each of the corresponding spaces:
Host: (Address that you were given)
Server Type: FTP – File Transfer Protocol
Login Type: Normal
User: Your Cloud 9 Real Time login name that you use to enter the Thinworx client.
Password: Your Cloud 9 Real Time password that you use to enter the Thinworx client.
Account: Leave Blank
Click on “Connect”.
Windows FileZilla Setup Guide
5Windows FileZilla Setup Guide
This will connect you to our server.
Windows FileZilla Setup Guide
6
Windows Filezilla Setup Guide