How to Monitor CPU Temperature
Author Info | Tech Tested
Updated: January 17, 2019
Heat management is essential to maintaining a healthy computer. If your computer gets too hot, you may encounter errors, slow performance, and unexpected shutdown. This wikiHow will teach you how to monitor CPU temperature.
Method One of Three:
Using the BIOS
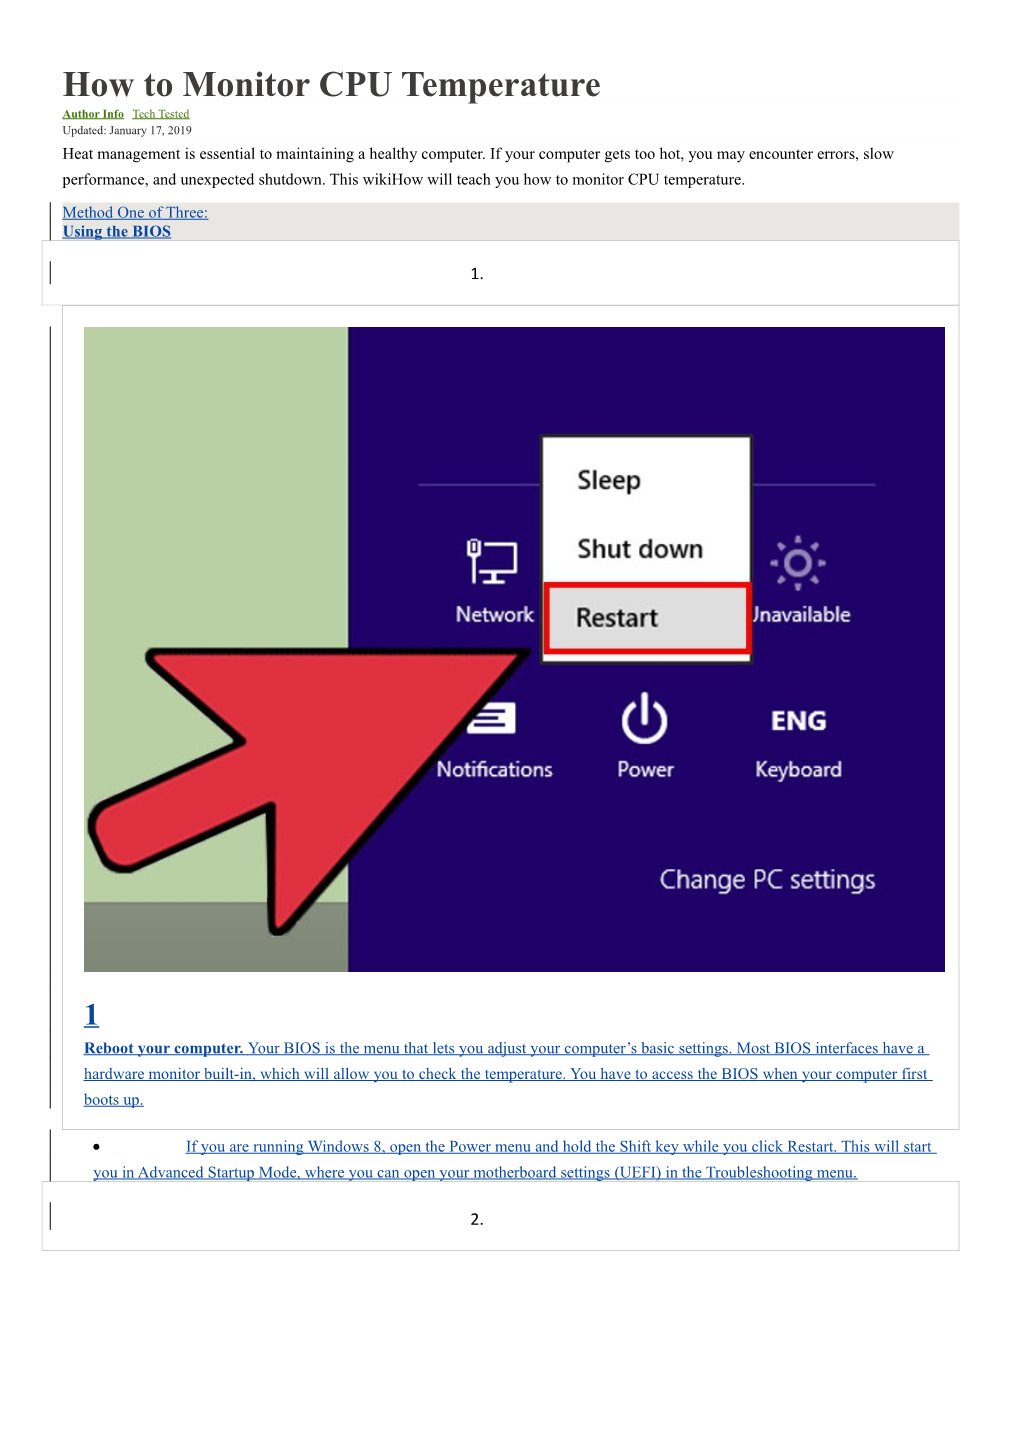
1
Reboot your computer. Your BIOS is the menu that lets you adjust your computer’s basic settings. Most BIOS interfaces have a hardware monitor built-in, which will allow you to check the temperature. You have to access the BIOS when your computer first boots up.
- If you are running Windows 8, open the Power menu and hold the Shift key while you click Restart. This will start you in Advanced Startup Mode, where you can open your motherboard settings (UEFI) in the Troubleshooting menu.
2
Press the BIOS key. The key varies depending on your hardware manufacturer. Typical keys include F2, F10, and Del. The correct key will be displayed on the same screen as the manufacturer’s logo.
- If you do not hit the key in time, your computer will boot normally and you will have to try again.
3
Find the Hardware Monitor. Different BIOS programs will have different section labels. Some of the more common labels are H/W Monitor, Status, PC Health, etc.
4
Check your CPU temperature. The temperature limit for your CPU will vary depending on the model, but generally you want your temperature to be less than 75° C (167° F). Check your CPU’s documentation to determine the exact temperature threshold.
- Check your other temperatures. While you’re checking your CPU temperature, check to see how hot the rest of your system is running. Most hardware monitors will also tell you the motherboard temperature, the graphics card temperature, and possibly ambient temperature in the case.
Advertisement
Method Two of Three:
Using a Program
1
Install a hardware monitoring program. Most motherboards come with hardware monitoring programs included on the installation disc, or available from their websites. You can also download freeware programs that will read your BIOS’s temperature readings and report them back to you. Popular programs include:
- Open Hardware Monitor
- Speedfan.
- Core Temp
- HWMonitor
- Real Temp
2
Run the program. Once you’ve downloaded/installed the program of your choice, run it to get a readout of your computer’s temperature. Most programs will display all of the temperature readouts, along with fan speeds and voltage measurements. Check all of these against the recommended levels according to your system documentation.
- Some programs may require special access to your computer’s settings to run, and will prompt you to continue before they can work.
Advertisement
Method Three of Three:
Lowering Your CPU Temperature
1
Let your computer breathe. Make sure that none of the fans or vents are blocked. Open up your computer and blast out the dust using compressed air. If air cannot flow over your components, heat will begin to build up.
2
Apply new thermal paste. Thermal paste is what conducts heat from your CPU to your heatsink. As time goes on, the thermal paste degrades. Opinions vary on how often thermal paste should be replaced, but if you are experiencing higher than normal temperatures, this is the easiest place to start.
- Don’t use an excessive amount of thermal paste, as too much can actually insulate the CPU instead of conduct the heat. A small dot spread evenly over the CPU is the most effective way to use it.
3
Replace your heatsink. If your CPU is consistently running hot, your current heatsink and fan may no longer be up to the task. Find a new heatsink/fan combo that will fit in your case and move more air than your existing setup. Larger fan setups can lead to more ambient noise.
4
Add more case fans. If your case is not getting good airflow, you may need to install more fans to get air moving properly. Fresh air should be coming in from the front and top, and get exhausted out the back of the computer.
5
Replace your hardware. Older components tend to overheat after long-term use, and sometimes there is no other option than to replace them. If you have to replace your motherboard or CPU, you may want to consider rebuilding your entire system, since you will need to reinstall everything anyway.
- 6
Underclock your CPU. See Underclock a PC, the speed your CPU will run at will be limited so the temperature will not be as high. Underclocking your PC will slow it down but will give it a considerably longer hardware lifespan, reduced heat generation (and hence dissipation), reduced electrical power consumption, increased stability and reduced noise from mechanical cooling parts.