DRIVELINE RETAIL SOLUTIONS Confidential- JH
DRIVELINE RETAIL MERCHANDISING
IN-STORE INSTRUCTIONS – UPDATED – JANUARY 2014 Confidential-LI
Client: Prepaid Vendors / Retailer & Number of Stores: DG
Project: Prepaid Fixture Service / In-store, Project Prep & Reporting Time: 45 minutes
Project #: 1013129 / Field Support Hotline: 1-888-824-7505, Ext. 6
Dates: 1/27/14 – 1/31/14 / Product Line & Dept: Phone Cards/ Main Aisle
Project Materials:
On the Web
PRINT & TAKE TO STORE:
· In-Store Instructions
· Work Order including forms (inventory, OOS, & order form)
· MUST PRINT ONE PER STORE: Store-Specific Planogram – click on PLANO ID link on work order to locate
· MUST PRINT ONE PER STORE: Prepaid Program Letter
**HANGING GIFT CARD FIXTURE AUDIT** Walk over to the greeting card rack and audit to confirm if the store has the hanging gift card fixture installed. You are not responsible for stocking or servicing this fixture. This is just an audit to confirm if this store has the hanging gift card fixture installed.
IMPORTANT: It is critical you PRINT and LEAVE the most current planogram and the Prepaid Program Letter in the service drawer at the completion of each service visit in EVERY store you service. The store cannot print out the store-specific planogram. It is not in the DG system.
CABELA’S GIFT CARDS: If you locate any units of this card on the Prepaid Fixture, DO NOT DESTROY. Store these cards in the service drawer. They will be added to the planogram in FEBRUARY.
In-Store Tasks:
Step 1: STRAIGHTEN, & STOCK PREPAID FIXTURE TO NEW PLANOGRAM
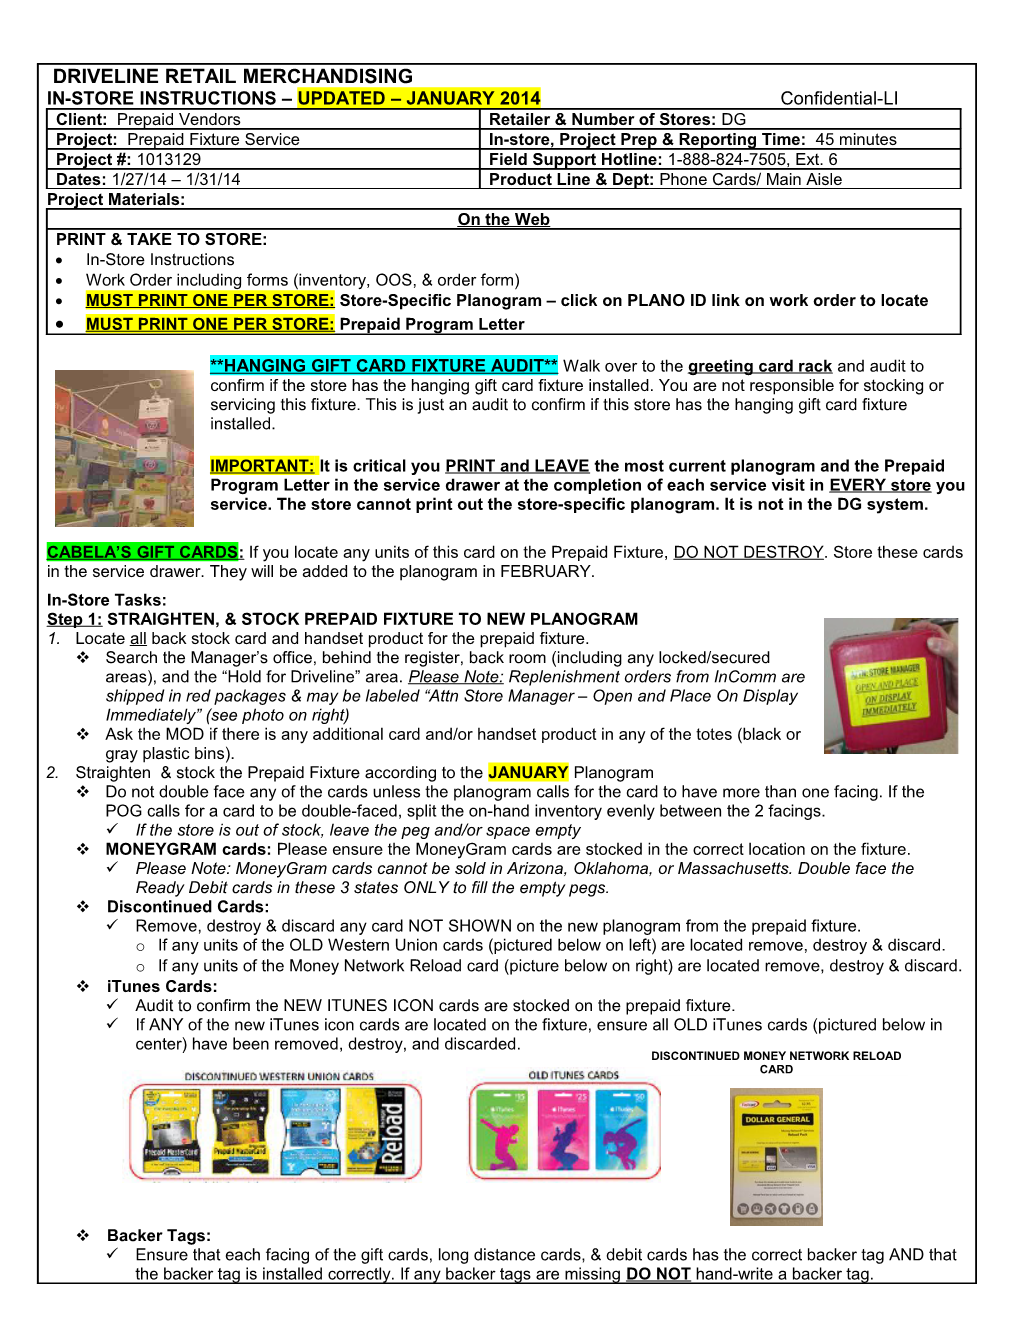
1. Locate all back stock card and handset product for the prepaid fixture.
v Search the Manager’s office, behind the register, back room (including any locked/secured areas), and the “Hold for Driveline” area. Please Note: Replenishment orders from InComm are shipped in red packages & may be labeled “Attn Store Manager – Open and Place On Display Immediately” (see photo on right)
v Ask the MOD if there is any additional card and/or handset product in any of the totes (black or gray plastic bins).
2. Straighten & stock the Prepaid Fixture according to the JANUARY Planogram
v Do not double face any of the cards unless the planogram calls for the card to have more than one facing. If the POG calls for a card to be double-faced, split the on-hand inventory evenly between the 2 facings.
ü If the store is out of stock, leave the peg and/or space empty
v MONEYGRAM cards: Please ensure the MoneyGram cards are stocked in the correct location on the fixture.
ü Please Note: MoneyGram cards cannot be sold in Arizona, Oklahoma, or Massachusetts. Double face the Ready Debit cards in these 3 states ONLY to fill the empty pegs.
v Discontinued Cards:
ü Remove, destroy & discard any card NOT SHOWN on the new planogram from the prepaid fixture.
o If any units of the OLD Western Union cards (pictured below on left) are located remove, destroy & discard.
o If any units of the Money Network Reload card (picture below on right) are located remove, destroy & discard.
v iTunes Cards:
ü Audit to confirm the NEW ITUNES ICON cards are stocked on the prepaid fixture.
ü If ANY of the new iTunes icon cards are located on the fixture, ensure all OLD iTunes cards (pictured below in center) have been removed, destroy, and discarded.
v Backer Tags:
ü Ensure that each facing of the gift cards, long distance cards, & debit cards has the correct backer tag AND that the backer tag is installed correctly. If any backer tags are missing DO NOT hand-write a backer tag.
3. Stock the wireless handsets on the locking bars per the store-specific Planogram.
v Any non-planogramed wireless handset product must be removed & given to the MOD.
4. Replace all missing or incorrect price labels for the wireless handsets on the prepaid fixture.
v Work with the MOD to print any needed price labels. If you have more than one handset model on a peg, ensure the price label matches the handset that is at the FRONT of the peg.
v If the MOD does not know how to print price labels, use the step-by-step directions below to guide the MOD through printing the price labels from the store’s back office computer.
5. Stock AT&T and Verizon brochures.
6. Install new NET10 Galaxy Centura dummy handset & new insert panel (Please Note: These materials were only shipped to select stores that have been reporting the old FryDaze dummy case as missing). If the store still has the FryDaze dummy case on the fixture, do NOT remove it at this time. It will be removed at a later date.
v The new NET10 Galaxy Centura dummy handset & NET10 dummy insert panel were shipped direct to the vendor back in mid-December and should be marked with a yellow label stating “Hold for Driveline – Dummy Phone”
v Install the dummy handset in the blank spot left by the FryDaze dummy case
v Install the dummy insert panel over the FryDaze verbiage on the dummy spec panel.
Step 2: Complete ALL 3 Forms: Inventory, Out of Stock, & POP Order Forms
1. INVENTORY FORM: HANDSETS (include counts for all units on fixture & in back stock)
v Record the on-hand count of EACH handset model noted on your store-specific inventory form (Each count MUST include all handsets on the fixture AND in back stock (Manager’s office, backroom, Hold for DL area, etc).
v Please Note – Your work order will only reflect the inventory information for the specific wireless providers with coverage in each store/location.
2. OUT OF STOCK FORM: ALL CARDS
v Record the on-hand counts for ANY card with 4 or less units.
3. POP ORDER FORM: DUMMY HANDSETS and VERIZON, AT&T BROCHURES
v Missing Dummy Handsets – Record the total count NEEDED for each dummy handset – refer to the spec panel for store-specific information (The spec panel is the graphic strip that sits below & in front of the dummy handsets)
v AT&T & VERIZON Brochures – Order brochures for any provider that is low (1/2 empty).
Step 3: Service Promotions Basket
1. Confirm and/or place the current TracFone/NET10 flyer in promotions basket by the front door
Step 4: Audit scan cards to determine if store has CURRENT scan cards:
1. Ask the MOD to provide you with the scan cards currently being used for the prepaid cards.
2. Look through the scan cards to verify if the store has the CURRENT scan cards.
v The CURRENT scan cards should contain the new AT&T $35/60 scan card & Verizon $35 scan card.
Step 5: Place store-specific planogram in service drawer & give MOD Prepaid Program Letter
1. Advise the MOD that the store-specific planogram is in the service drawer of the prepaid fixture
2. Give the MOD a copy of the Prepaid Program letter
Step 6: Take (4) EXIT Photos AT THE END your service visit (LEFT, CENTER, RIGHT) & BACK STOCK
v Ask the MOD for a sheet of paper. Write the DG Store # AND DATE OF VISIT on the paper & place the piece of paper with the word “DG Store # & date” showing in each of your exit photos
ü (3) PHOTOS - Clearly show all 3 sides FROM TOP to BOTTOM of the Prepaid Fixture. (LEFT, CENTER, RIGHT).
ü (1) PHOTO – Any back stock HANDSET product in back room, Manager’s office, etc
**The Prepaid Vendors are viewing the photos to confirm the information provided
on the inventory, OOS, & order forms is accurate.**