TOUCHDESIGNER VR DEVELOPMENT ENVIRONMENT
INTRODUCTION
This is an outline of an environment file that can be used as a starting point to build a Virtual Reality experience using an HTC Vive or OpenVR headset. It covers each of the main components as well as picking, selection and a locomotion systems which enable easy interaction with TouchDesigner object components and the Vive HMD
(headset) and controllers.
GETTING AROUND VR
The HTC Vive or open VR system must be installed and configured. Currently the only VR system tested with this environment is the HTC Vive. So for the setup and operational sections it’s currently assumed you are working with the Vive.
HTC Vive Installation
Please follow the installation directions found here…
Please install the latest version of 099 available here…
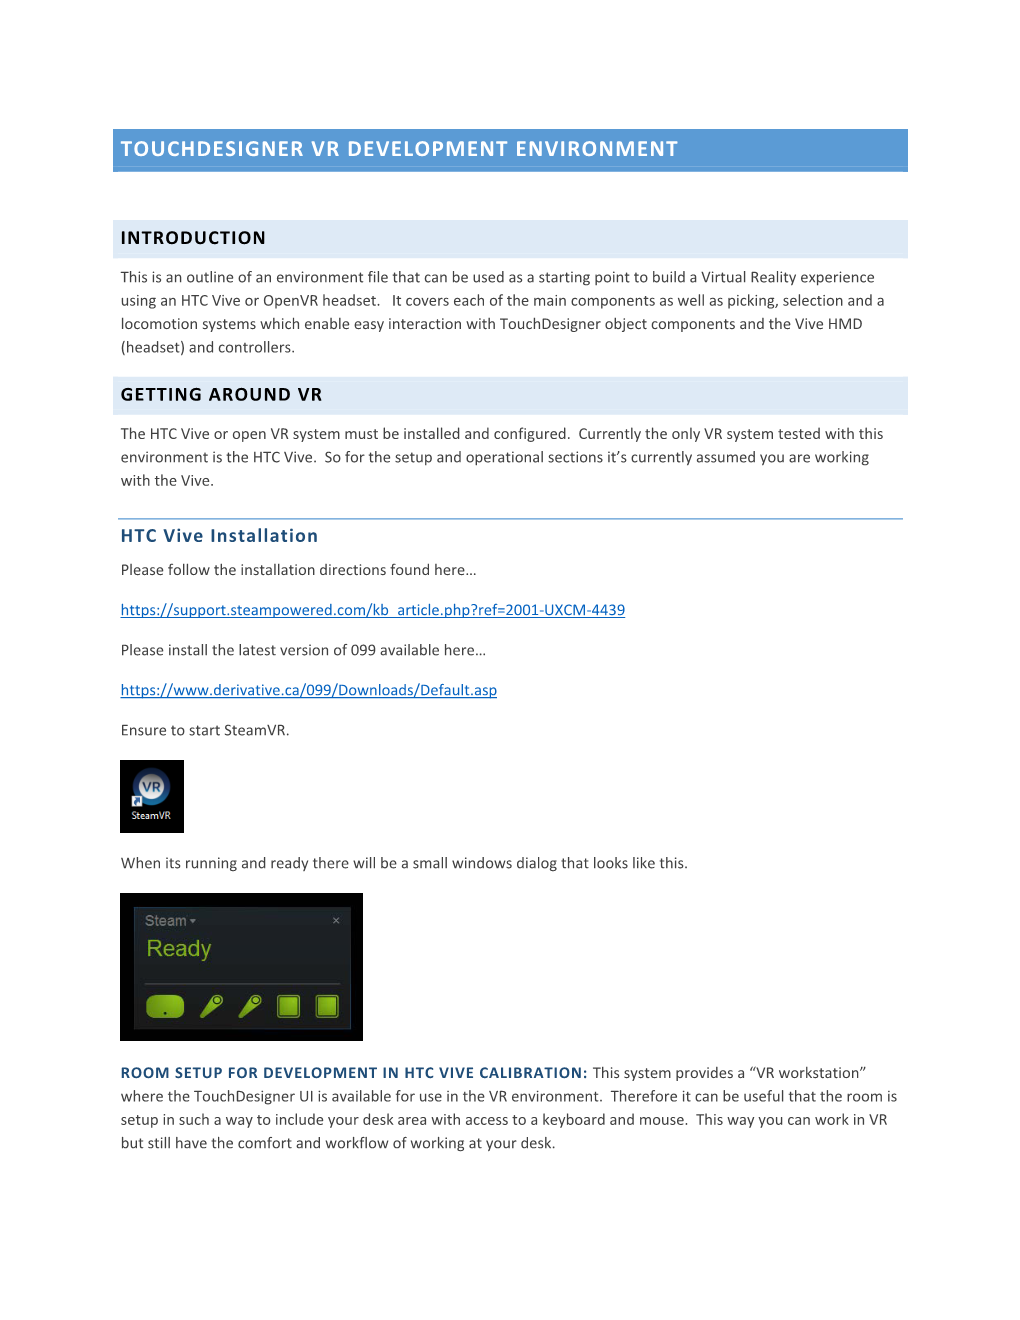
Ensure to start SteamVR.
When its running and ready there will be a small windows dialog that looks like this.
ROOM SETUP FOR DEVELOPMENT IN HTC VIVE CALIBRATION: This system provides a “VR workstation” where the TouchDesigner UI is available for use in the VR environment. Therefore it can be useful that the room is setup in such a way to include your desk area with access to a keyboard and mouse. This way you can work in VR but still have the comfort and workflow of working at your desk. TouchDesigner Installation
1. Download the environment file zip archive from the TouchDesigner forum.
2. Ensure the Steam VR dialog is running and all features are green as depicted in the previous section.
3. Run this toe file, put the HMD on and grab the controllers.
Moving around 1. The main method for moving around is by pointing either Vive controller at the ground and pulling the trigger button. You will “teleport” (snap instantly) to the selected location.
2. You can also point the controller at objects in the scene. If the object lights up with the controller intersection indicator and you pull the trigger you will teleport onto that object. Currently there are 4 disc objects setup with this behavior. When you teleport onto one of the floating objects, to get back down simply pick a new location on the ground plane object.
3. A third way you can move around is with an Xbox for Windows controller. The left joystick will move you forward and backward, left and right, relative to the direction you are currently looking in. The right joystick will pitch and yaw – which is very disorienting and the motion causes nausea so be careful. Finally the left and right index finger triggers will move you down and up. The “back” button will reset the transform offset generated by the joystick. This controller is completely optional, but we found it a useful
device to have around, especially when siting at your desk with a need to move around the world.
00004 Working with the VR Workstation
The VR Workstation is a 3D object in the virtual world that captures the TouchDesigner editor and makes it available in VR to make it easier to see what’s going on in TouchDesigner as you edit things in VR. As well you can jump forward to the Configuring the VR Workstation section and come back here to learn how to work with it in
VR.
1. To access the VR workstation object simply locate the big “W” on one of the controllers. Use the other controller and point its indicator ray at the W and use the trigger button to select. The workstation object will appear around you.
2. The workstation object may appear around you with a strange offset or angle. This can be fixed by following the next step. However first turn off the workstation. You can turn off the workstation by selecting W again.
3. As the workstation is activated it samples your head transform and snaps relative to that position. So for the best results look forward at the horizon line while holding the controllers ahead of your face. You will end up making a horizontal cross with the controllers in order to select the W again. Press the trigger once your head is steady and level. 4. Now that the workstation is active and comfortably around you, its time inspect its purpose. First you see a dark ribbon, and if you gaze to the left you will see the frames per second and frame time printed onto the ribbon.
5. Looking straight forward and down you will see 3 small squares. These buttons give access to the 3 modes of the workstation. “IO” is the current mode as indicated by red text, and simply toggles off the other two modes.
6. Selecting “TD” will give you access to your windows desktop and ideally a correctly formatted
TouchDesigner screen (but this will likely require setup since it depends on your desktop configuration). 7. The third mode is the HMD camera which can be useful when doing things in the vive like looking where your chair is or finding your mouse and keyboard.
8. There is one last feature you may not have noticed. When you turn on and off your VR workstation, the TouchDesigner user interface enters and exits “Perform Mode”. You won’t see this happen when you have the HMD on your head. To see this happen, rest the HMD back on your head such that you aren’t looking into VR. Now in the TouchDesigner editor, go to the network /openVR/world and you will see the left eye view. If you repeat step 3, but this time using the left eye preview in TouchDesigner, you will see the TouchDesigner user interface will turn on and off as the workstation turns off and on. These different states greatly effect frame rate. When in VR, toggling the workstation on and off is a quick way to set the system into an optimal playback state. With TouchDesigner open you can do the same thing simply by pressing F1. To exit perform mode on the widows desktop select the VR preview screen and press the escape key. 9. As you get more comfortable with the VR workstation workflow, you might find it cumbersome to pop in and out of the HMD while reading this tutorial. Some may find it useful that it’s possible to read this tutorial on the same screen as the TouchDesigner editor. Simply use the Windows Key + Cursor Left Right
Keys to position the TouchDesigner editor and your PDF reader on the main screen.
Configuring the VR Workstation
The following sections are a guide to setting up Windows 10 and the VR Workstation component to correctly capture the TouchDesigner editor into VR.
Automatic Setup
1. If you are using more than a single screen you will have to choose a screen to work with TouchDesigner on. The ideal resolution is around 1920x1080 or 1920x1200. As the resolution increases it will get harder to read the text of the editor window capture. The automatic system will capture the primary monitor that is selected in the windows 10 display control dialog.
2. The primary screen can be customized using the “Make this my main display” checkbox found on the Customize your display dialog. First select the monitor you desire as the primarily screen then check the box. Click apply to complete.
3. Next locate the workstation component in /openVR/world. Activate the parameters and locate the “Snap To Monitor” button. Click this button and it will fill out the settings such that the primary monitor is captured and passed along to fill the virtual screen area.
Manual Setup
This section gives a more det 1. By default the workstation mode comes configured to work with your computer set to a single 1920x1080 screen with Windows 10 start menu and text scaling defaults. This is likely not the case with your setup and therefore you are required to following these steps. To access the setup parameters go into the TouchDesigner editor. Locate the component /openVR/world/workstation.
2. Next take note of your screen setup. To see the screen setup in windows 10 right click on the desktop and from the menu select “display settings”.
3. The customize display section has an “Advanced Display Settings” link at the bottom under the “Apply” and “Cancel” buttons. Click that link.
4. In the “Advanced display settings” area there will be a number of blue or grey rectangles with numbers starting at 1 to the number of screens that are connected to the computer. You must take note of each screen resolution. 5. The desktop crop left, right, bottom, top are values relative to the left most, bottom most pixel of a rectangle that would envelope the entire area of all screens. This is the rectangular desktop area. The area to capture is the monitor that you choose for TouchDesigner – which is known as the screen area. In this example we choose the smaller 1920x1200 screen which is indicated below as the blue section sitting inside the desktop – (red square).
6. In the layout depicted above, the left screen is 1920x1200 and the right screen is 3840x2160, so the coordinates are as follows. a. Screen Crop Left = 0 b. Screen Crop Right = 1920 c. Screen Crop Bottom = 2160-1200 = 960 d. Screen Crop Top = 2160
7. If you get the correct numbers and look at the VR Workstation with TD mode active, you should see a fairly clear screen that envelopes your HMD. You should notice as well the mouse cursor is visible in VR but it likely isn’t tracking correctly. We are only able to track the mouse when the cursor is over the main
TouchDesigner window. 8. Make sure the Windows scale and layout size is set to 100%. Otherwise it will throw off the mouse calibration.
9. To calibrate the mouse cursor we must do a second crop to remove the Windows start menu and top application window header. As a convenience open the “View Mouse Coords” button to open a chop viewer that holds the current x and y coordinates. Now slowly move the mouse left and right. You will notice when the mouse leaves the left side of the TouchDesigner window the “tx” value stops changing.
When the value stops as you move left, that is the left crop value, and as you move the mouse right and it stops updating, that is your right crop value. The same is true for “ty” and “up and down”, with the low value for bottom and high value for top.
10. So with the TouchDesigner editor ideally maximized and definitely on the chosen isolated screen from step 6, determine the left and right values for the crop. If the screen is correctly filling the entire screen and the start menu is either on the top or bottom, these should match the resolution of the output for the desktop crop.
11. Finally repeat the process for top and bottom crop parameters using the mouse “ty” channel value as the reference. The parameters should end up filled in something like this…
GETTING INSIDE THE SYSTEM
The main network layout has a bunch of components that are explained in the following “Main Components” section. As well there are a few DATs that hold a list of object component paths that are shared by the “Main Components”. All of these components are required for the system to operate so they should not be removed or modified. The customizable VR world is /openVRProject/worldwhich is covered in the “Main Components” world section.
VRDev Desktop
By default the editor will open to the VRDev desktop which is split into 3 panes. On the top left is a 3D tumble viewport which is available for traditional 3D world inspection. To the right is a network editor and finally the bottom is a text editor as well as a place for editing scripts.
General Overview The entire project is contained in /openVR. This is an architecture that is comprised of two major sets of components. The system components and the world components.
The orange nodes make up the system architecture and should not be modified. These are the devices that comprise the system; namely the VR HMD (VR headset) and the controllers.
The green component contains the world components and it contains everything you need to start creating a basic
VR experience. It’s the component you will work inside. As well there is nothing inside the world component that is required for the VR system to function.
Finding Bugs and Requesting New Features
For the orange components, bugs and feature requests should be reported to the forums. If you decide to make a fix please notify us as we may integrate and keep it up to date with other new features.
As for things in the world component, feel free to experiment with whatever you find and share the things you make. The following section on the world component will discuss how to find your way around here, how to access important things from the system components as well as some guidelines on how to make your own VR objects compatible and easy to share with others using this system.
THE WORLD OBJECT: FUNDAMENTALS
The world component holds the object components that make up the 3D world we see in virtual reality. To understand how these objects work together it’s important to understand a few TouchDesigner fundamentals.
There are various kinds of relationships that exist between components that exists at one level in the hierarchy, and between other components and those operators they contain. Grasping these ideas are important to comprehend a path to building an efficient, coherent and modular 3D world. Some of these concepts have to do with where one might store information on an object while others deal with what differentiates a particular class of object verses another. For example, what is the difference between the ground object and the sky object? Why do you teleport when you focus on the ground and pull the controller’s trigger, when nothing happens if you are pointing at the sky?
To answer questions like these one must first look at a series of features that have been added to TouchDesigner to help with managing information to enhance modularity and to enable designers to create large environments with many different objects that talk together with a common language.
Along the way you will encounter light Python as well as some 3D math discussions. However things have been designed with the non-programmer in mind. For the pure artist this can serve as a fun introduction to a little
Python and 3D math, while to the seasoned programmer it will reveal more power and establish some guidelines for creating smart objects that integrate into this open virtual world.
Parents and Organizing Components
This section covers a very basic overview of the system architecture for beginners. For advanced users please skip to the next section called Parent Shortcut.
What is a parent? In TouchDesigner the idea of “parent” has become a critical concept. The notion of “parent” and “component” are tightly intertwined. Firstly, a component is an operator that holds other operators. Find out more with the following link.
Secondly, all the operators that are contained in a component, refer to that component as their “parent”. In the context of this project the top most container is “/openVR”. The only parent that “openVR” has is “/” which is nicknamed “root” as in the “root” of a tree or hierarchy.
To grasp a deeper understanding imagine a parent as a folder of files on your desktop. A folder can hold more files and more folders just like components in TouchDesigner can hold more operators and other components.
However unlike folders which are generally very plain things, components can be extremely powerful things that have special behavior and often have control of the things inside them.
To keep things modular it’s important to create components that encapsulated so they are easy to share and reuse. If networks are a web of dependencies and wires connecting major pieces of functionality the system can get locked down and difficult to modify. It can get harder and harder to move things, update parts etc. Conversely the more contained and simple we can make each piece of functionality the easier it is to scale, share and improve a system over time.
So this is the first conceptual idea that should be absorbed. Components contain operators and other components, and very often those internal operators, which are referred to as the children, often have a vested interest in their parent(s). To keep things modular and contained, we try to focus the relationship of children components to their parent and siblings as much as possible. To further the point, in virtual reality, components are significant because the component defines discrete objects like teapots, cars, trees and mountains. UNIX Style “..” Path to Parent
The easiest way to make a reference to a parent component is by use the string “..”which points to the parent one level up from the operator you are focusing on. To see this action follow these steps:
1. Set the network editor path to the “/openVR/world”network.
2. Add an “Info CHOP” and set its “Operator” parameter to “..”. Look in the infoCHOP viewer. The num_childrenchannel reveals the number of children in this component while the other channels reveal more information about the component above.
The main benefit of this approach to reach the component above, is that it’s easy to type and in general it’s fast to compute. “..”is a built-in string that is recognized by TouchDesigner so there is no extra expression compute time required to find the answer. This is a critical point because in virtual reality every microsecond counts, and these kinds of references can save plenty of time if there are many of them computing at one time.
Beyond accessing the direct parent above, it’s possible to jump up to the next level by adding a “/” and another set of “..”. So for example, “../..”will return information from /openVRand “../..”will refer to root.
However, there are many limitations with regard to its usefulness. For example, the syntax “..”doesn’t give access to a parent component’s parameter or other useful information that may be desired from a parent. In the next section, the Python parent function is introduced and it does just that.
The Python Parent Function
A more powerful and modern approach to access parent data utilizes Python. This function is parent. The parent()function is useful because just like the built-in “..”it allows for creating relationships between a component and its children. Copy and paste the “Info CHOP” added above, then follow these steps:
1. Left click the operator parameter to open the parameter editing mode. 2. Enter the Python expression mode by clicking the middle blue square of the parameter mode buttons.
Touchdesigner Vr Development Environment