Before You Start
Before you start
The following hardware is required for using HDAdvance:
1. An official PS2 network adapter. Either adapters that shown in the picture can be used.
2. A Suitable hard disk. You can use the official hard disk or a standard IDE hard disk drive with a capacity of 40/80/120GB. If you use a standard IDE drive, you will need to make sure that it actually fits into your network adapter. Most Western Digital drives do not physically fit onto the PS2 network adapter without some modification, so we recommend that you stay clear of this brand. There are also issues with some modern Seagate drives, which cause problems when used in conjunction with older models of the official PS2 network adapter. We recommend using a Maxtor or Hitachi brand HDD with HDAdvance. If HDAdvance freezes at the splash screen for you, then it is due to the conflict mentioned above. In order to resolve this you will either need to purchase a new hard disk drive or network adapter.
3. A PS2 with a "Bay-Type" expansion port. All PS2's will have this expansion port except for the first three Japanese models (SCPH 10000, SCPH 15000 and SCPH 18000) which have a PCMCIA expansion port instead. These models are not supported by HDAdvance.
How to Install Your Hard Disk
If you have an official PS2 hard disk drive, then please install it according to the directions in its manual. If you will be using a standard IDE hard disk drive, then please make sure that the hard disk drive you intend to connect to your PS2 will actually fit into your network adapter.
Check that the IDE and power ports on your hard disk drive properly align with the IDE and power connectors on your network adapter. /
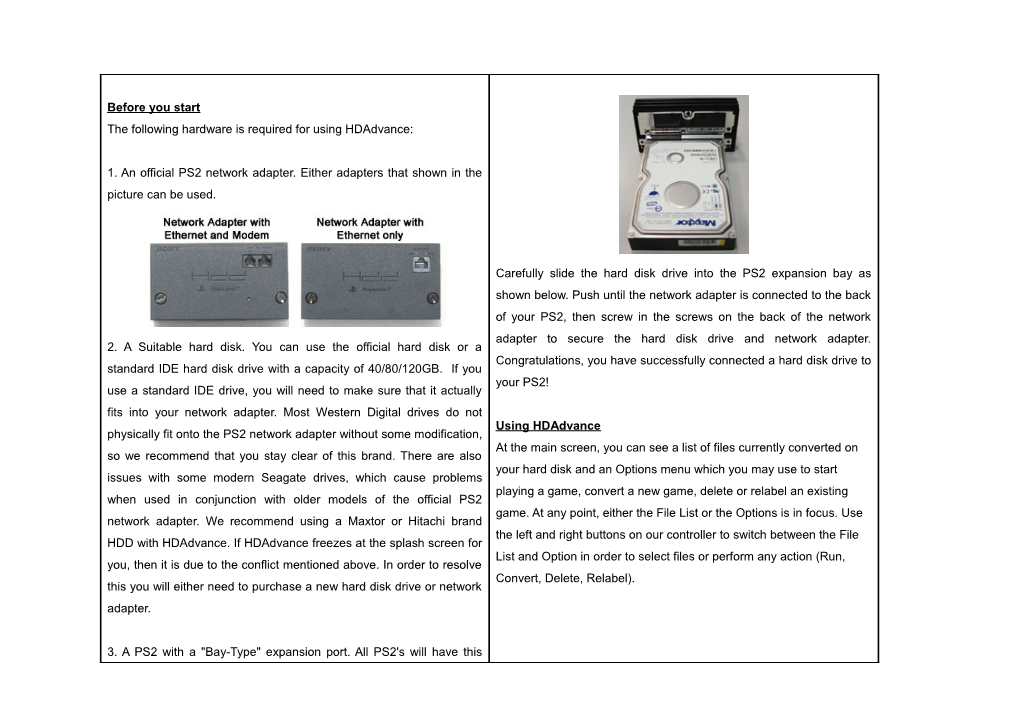
Carefully slide the hard disk drive into the PS2 expansion bay as shown below. Push until the network adapter is connected to the back of your PS2, then screw in the screws on the back of the network adapter to secure the hard disk drive and network adapter. Congratulations, you have successfully connected a hard disk drive to your PS2!
Using HDAdvance
At the main screen, you can see a list of files currently converted on your hard disk and an Options menu which you may use to start playing a game, convert a new game, delete or relabel an existing game. At any point, either the File List or the Options is in focus. Use the left and right buttons on our controller to switch between the File List and Option in order to select files or perform any action (Run, Convert, Delete, Relabel).
Configure the jumper setting on the hard disk drive so it is set to MASTER. To find the correct jumper settings for your hard disk drive, either check the label on top of the hard disk drive or consult your reference manual. Attach the hard disk drive to the network adapter by lining up the IDE and power ports/connectors and pressing firmly, as shown in Picture.
File Conversion
When you choose to convert a new game onto your hard disk, you will be prompted to insert your game disk. Eject the HDAdvance CD, insert your me disk and select “Go” by pressing X. HDAdvance will then scan your disk to make sure everything is in order, and if there are no problems you will be asked to enter the name of your game using the name selection panel.
The controls for the name selection panel are as follows:
D-Pad – Move the selection
X – Select character
O – Backspace
L1 – Cursor left / R1 – Cursor right
L2 – Cursor start
R2 – Cursor end
Select “End” when you have finished entering the name for your game to proceed to the actual conversion, or select “Cancel” to return to the main screen. When conversion begins you will be shown a progress bar for the conversion as well as statistics such as the time remaining.
Deleting a Game
When you select “Delete” from the Options, you will be prompted to delete the game which is currently selected in the File List. If you are sure that you wish to delete the game, select “Continue”.
Relabeling a Game
When you select “Relabel” from the Options, you will be taken to the name selection panel and you may edit the name of the game currently selected in the File List. The controls are the same as for the Conversion name selection panel, as described above. Select “End” to relabel the game or “Cancel” to return to the main screen without relabeling the selected game.
Converting Backup Disc/Import Game Disc
Please follow the steps below so as to convert backup disc / import game disc to PS2 HDD. / 1. Boot your console with HDAdvance. Using CD version for CD backup/import and the DVD version for DVD backup/import
2. Choose”Convert” in the “Option” menu.
3. When the system asks for the game disc, please use the slide tool or flip top cover to exchange the backup/import and HDAdvance Disc.
4. Select “Go” by pressing “X” when you are finished.