Remote Desktop Connection (TUN)
To ensure a successful Remote Desktop Connection, please verify the following:
• Apply all root certificate updates from Microsoft (via Microsoft Update Recommended Updates)
• For Windows XP, Service Pack 3 must be installed
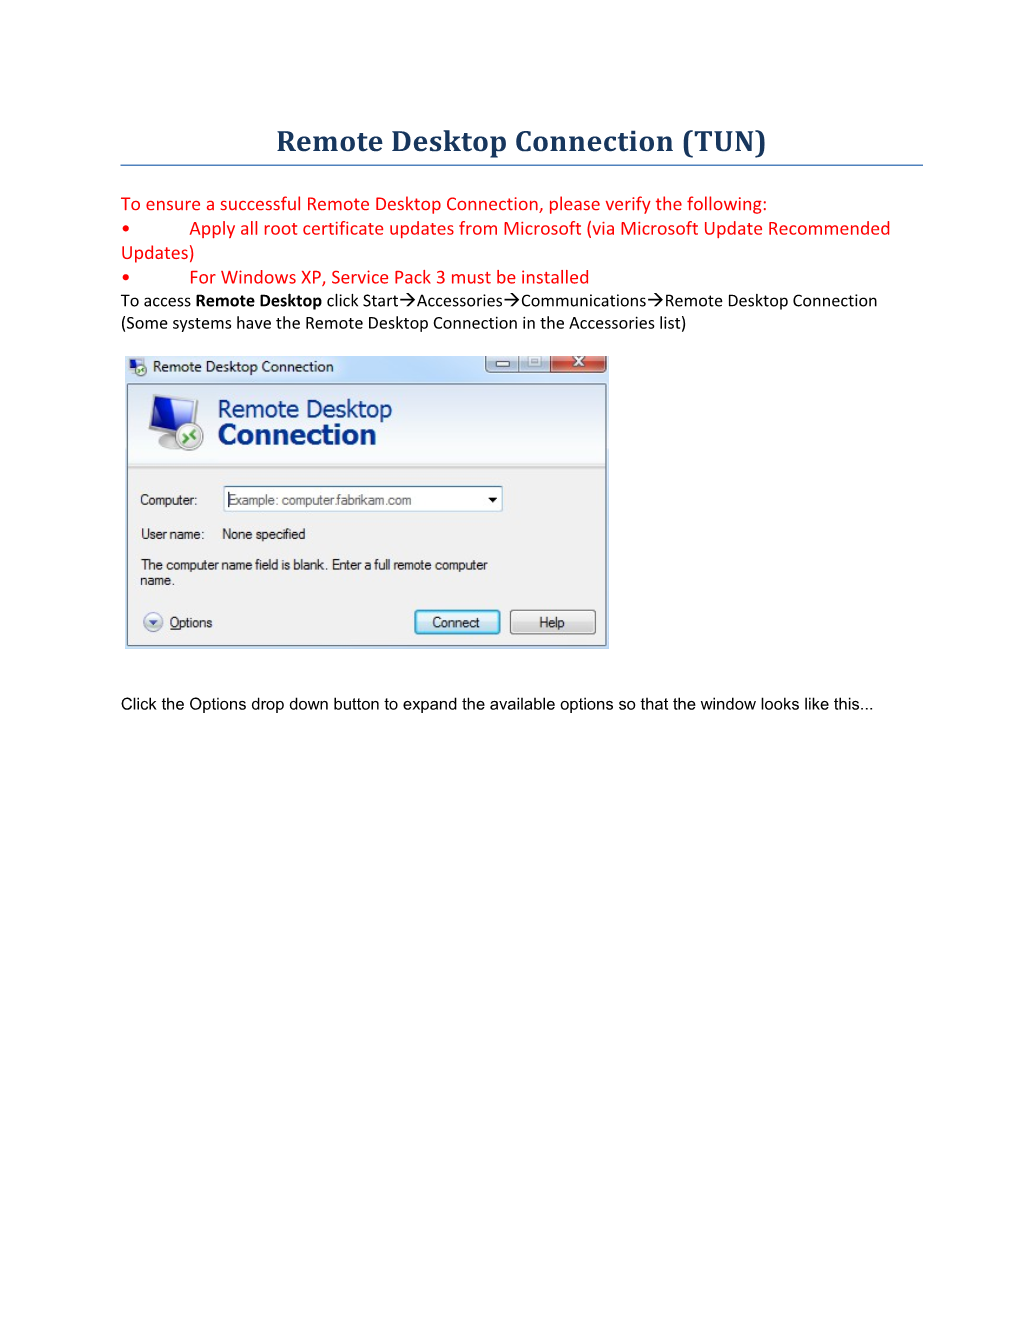
To access Remote Desktop click StartAccessoriesCommunicationsRemote Desktop Connection
(Some systems have the Remote Desktop Connection in the Accessories list)
Click the Options drop down button to expand the available options so that the window looks like this...
Input “ts-tun.waltoncollege.uark.edu” into the computer field and enter your user name: walton\ESxxxxx for external users and gacl\username for university account holders)
Click the Advanced tab
Make sure that “If server authentication fails” is set to “Connect and don’t warn me.” Now click Settings...
Select Use these TS Gateway server settings: and input “ent-sysgw.waltoncollege.uark.edu” for the Server name:.. Leave the Bypass RD Gateway server for local addresses checkbox unchecked. Click the OK button.
Go back to the General tab and click the Save button to save the settings.
Now click the Connect button which displays a trust prompt as shown below.
Click the Connect button which opens a dialog for you to enter your password.
Logon using your provided credentials: enter as walton\useridand password for external accounts and gacl\useridand password for internal accounts where useridand password are supplied to you by the Walton College - University of Arkansas. After entering your Password, click the OK button.
Access to Local Resources
Note that Remote Desktop connections can be configured to allow you to access your local systems such as the C: drive on your local computer. The steps to do that are shown below.
With Remote Desktop software open, click the Local Resources tab and click the More… button
In the Local devices and resources, expand Drives and check the check boxes for the drives you wish to have available—the C: drive in this example. Click the OK button.
Then, click the Connect button and continues as shown above.
If you get a warning as shown below, click the Yes button.
Once you’re logged in, expand the Computer tree as shown in the screen below. In this example, four local drives (C:, D:, V:, and W:) are available to the remote terminal server.
Note that UA Faculty and Students will have an S drive, shown above, on which work can be saved.
Please refer to the following link to learn how to log on to the Teradatadatabase Server.