Configuring Single Number Reach (Mobility) in Cisco Unified Communications Manager
- Activate the Cisco Unified Mobile Voice Access Service in Cisco Unified Serviceability. You must activate this service on the first node in the cluster. (This is a one-time setting change.)
- Go to: User Management and click on End User:
- Click Find and then click on the end user you would like to setup Mobility for.
- On the End User’s settings page, define the primary extension for the user. This is just the normal directory number for the user’s phone.
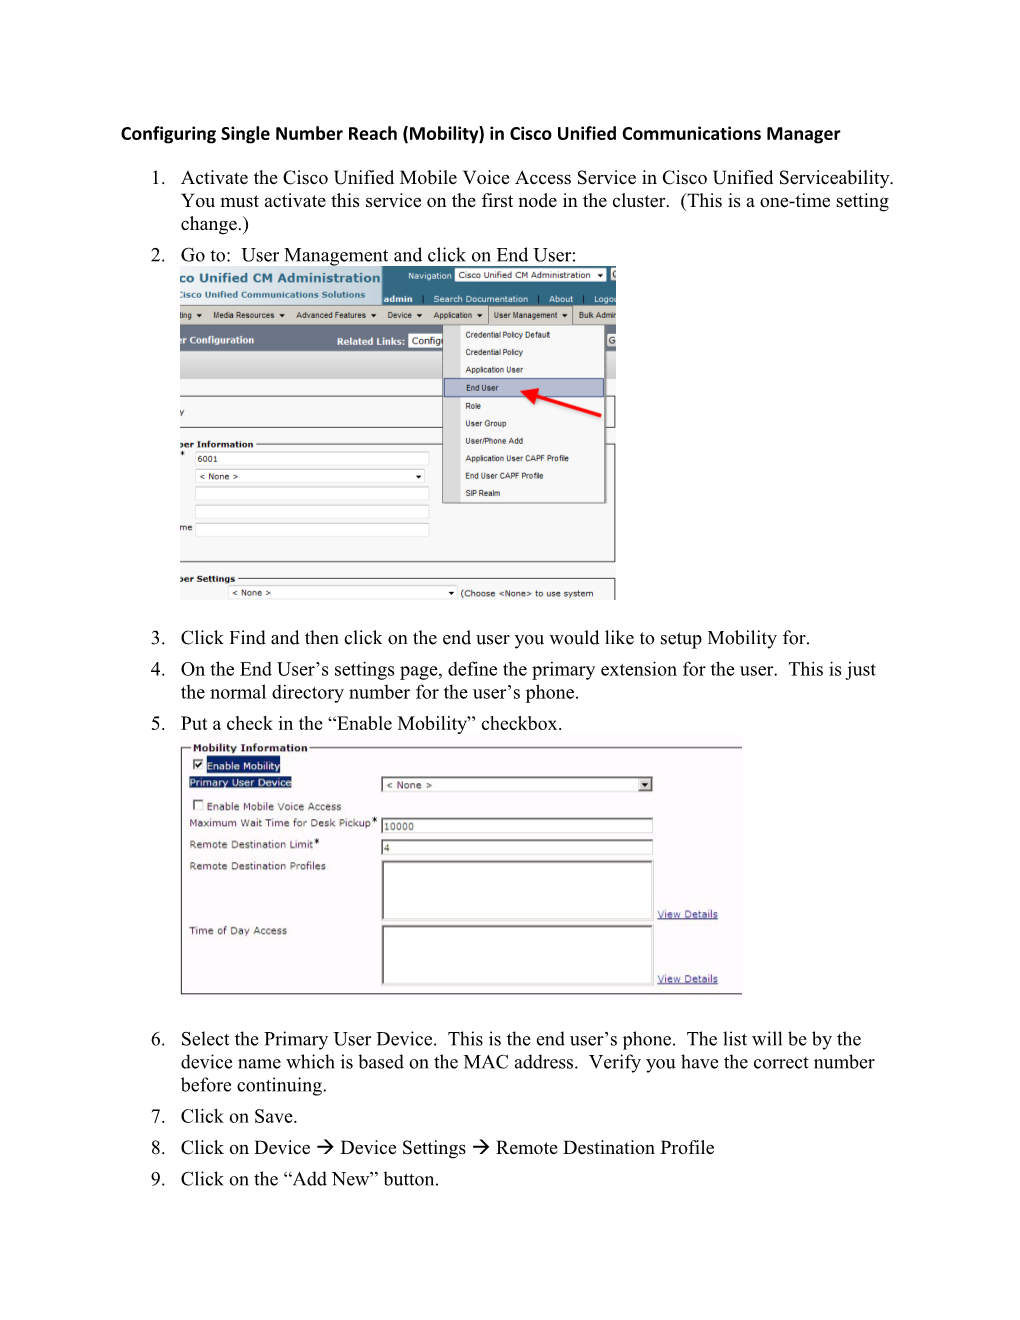
- Put a check in the “Enable Mobility” checkbox.
- Select the Primary User Device. This is the end user’s phone. The list will be by the device name which is based on the MAC address. Verify you have the correct number before continuing.
- Click on Save.
- Click on Device Device Settings Remote Destination Profile
- Click on the “Add New” button.
- Configure the following settings:
- Name: Username_RDP
- Description: Remote Destination Profile.
- User ID: Pick the end user’s username.
- Device Pool: Pick the appropriate pool for the location of the end user.
- Calling Search Space: Pick either LD or Int for the location of the end user.
- User Hold Audio Source: Pick “SampleAudioSource.”
- Privacy: Off
- Rerouting Calling Search Space: Pick either LD or Int for the location of the end user.
- Calling Party Transformation CSS: None.
- Leave all other settings as default.
- Click Save.
- Proceed to a new DN by clicking on the Line[1] - Add a new DN link.
- Change the Partition to “Internal.”
- Enter the end user’s extension and press tab. This will populate the remaining fields.
- Click Save. NOTE: THIS WILL REBOOT THE PHONE!
- Select DeviceRemote Destination.
- Click the “Add New button”
- Enter the following Settings:
- Name: Mobilityuser_RD
- Destination Number: Full number to reach the outside number from the office including the preceding “9.” Example: 914152171000
- Answer Too Soon Timer: Leave as default.
- Answer Too Late Timer: Leave as default.
- Delay Before Ringing Timer: Leave as default.
- Remote Destination Profile: Select the newly created destination profile.
- Put a check in the Mobile Phone check box.
- Put a check in the Enable Mobile Connect check box.
- Click Save.
- Select the Line Association Check box.
- Click Save.
- Go to Device Phone
- Click on Find and choose the phone for the end user you are configuring Mobility for.
- Change the Owner field to the end user. (If the owner field is not available, remove the check mark from Extension Mobility and then click save.)
- Change the Soft Button Template to the one with Single Number Reach/Mobility. This will activate a feature key on the phone to enable/disable the feature.
- Click Save. NOTE: THIS WILL REBOOT THE PHONE.
- Press the Mobility button on the phone to enable the feature.
- Now all calls to the end users extension will also ring the number specified in the remote destination confuration.